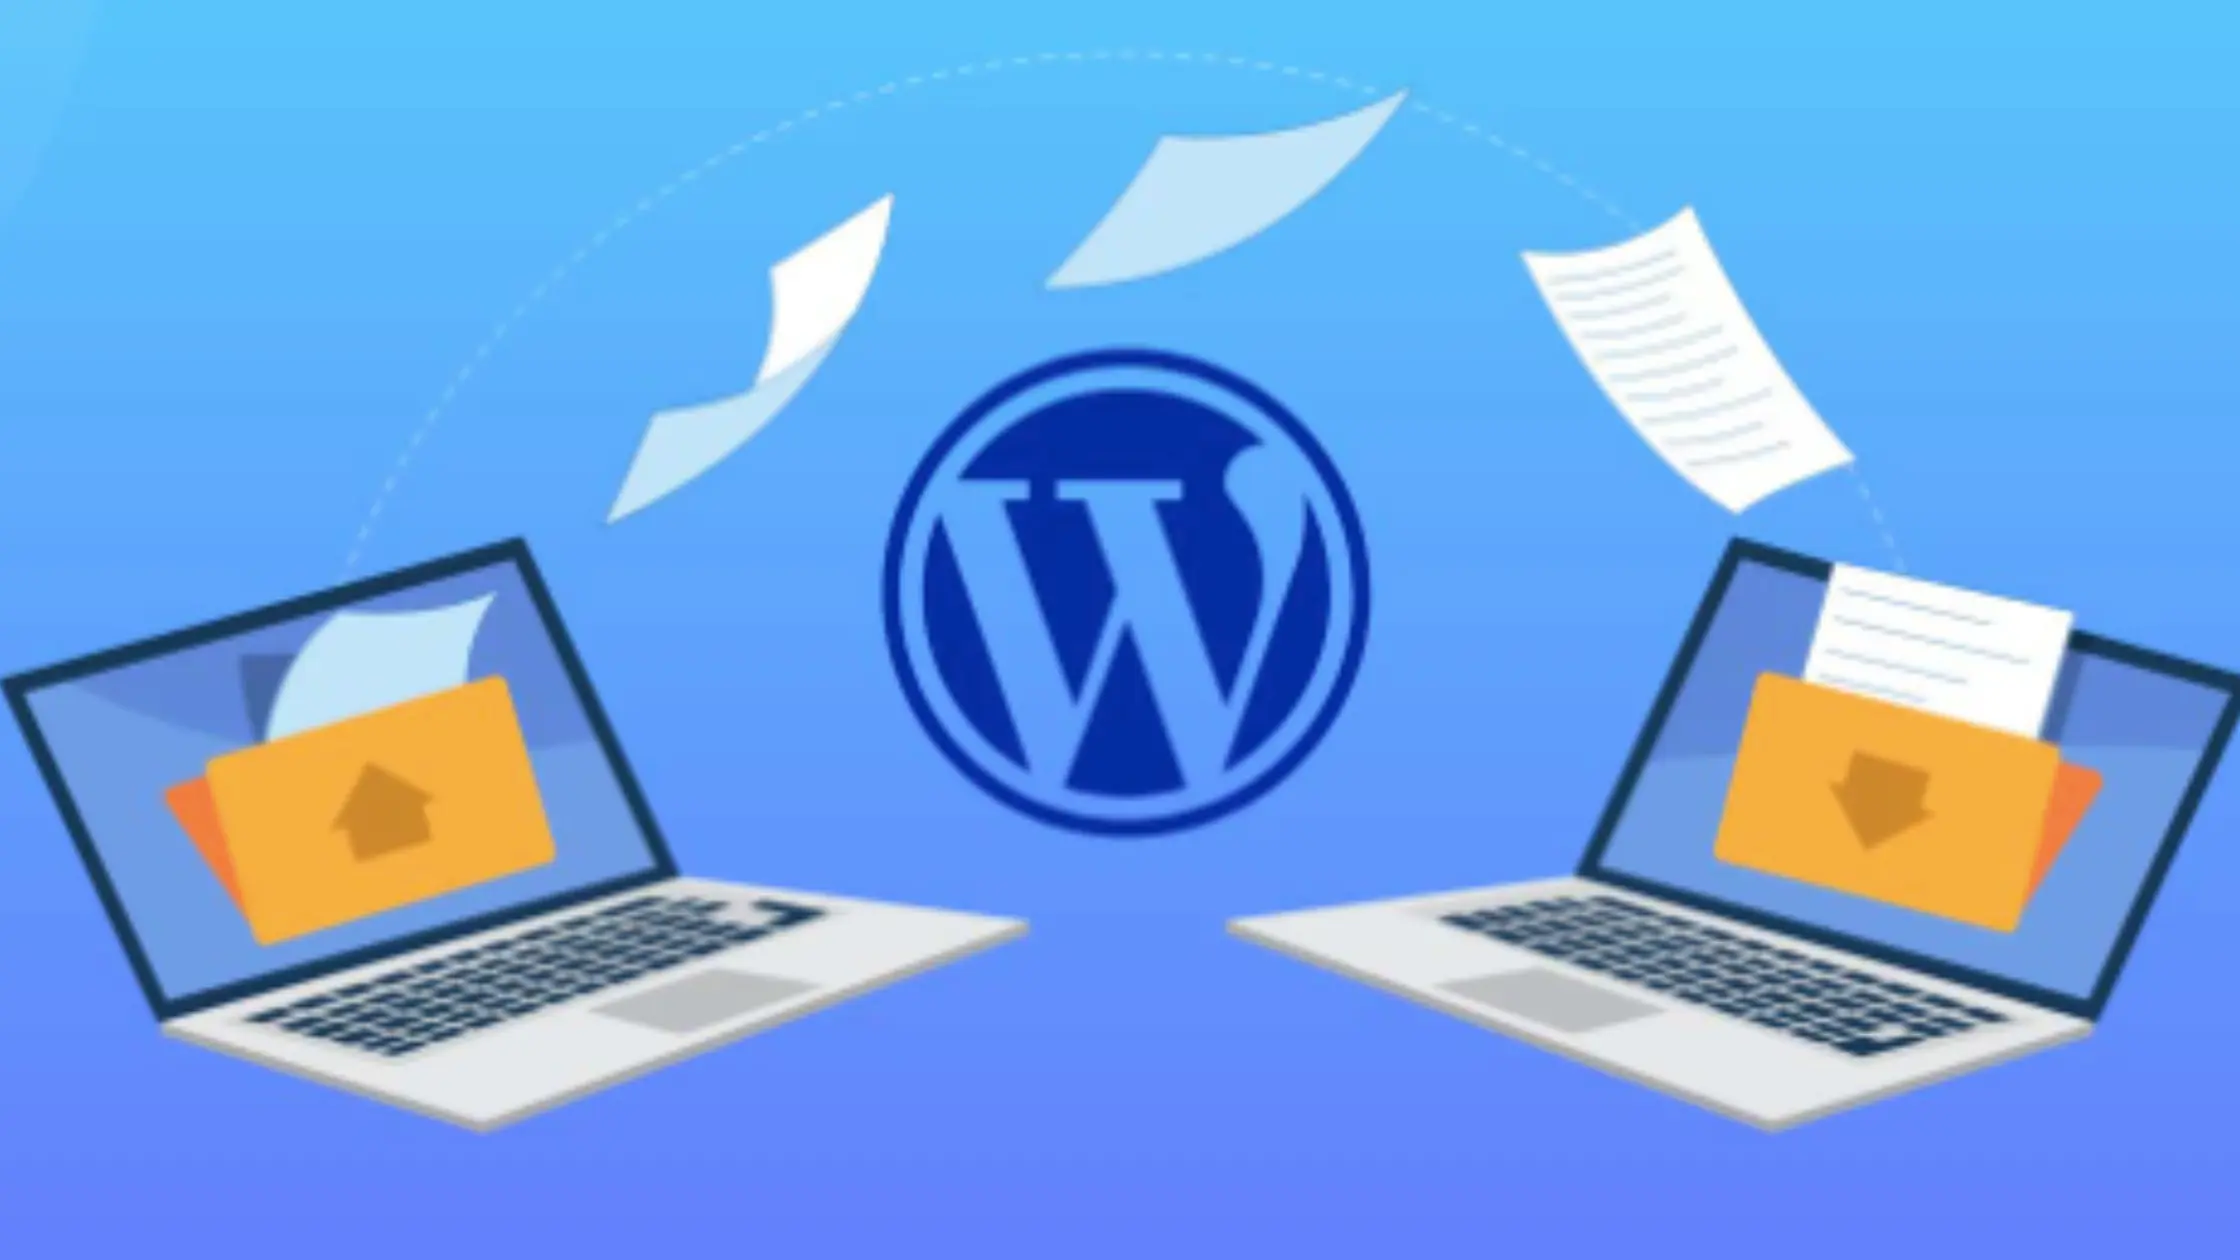
Migrating a WordPress site in 2024 can sound daunting, but with the right approach, it’s a manageable task. Whether you’re switching web hosts, moving to a new domain, or simply want to duplicate your site for testing purposes, the process involves transferring all your website’s files, databases, and configurations to a new location.
By following a few simple steps and using tools designed for WordPress migration, you can ensure a smooth transition without risking data loss or website downtime.
Firstly, before you start the migration process, it’s crucial to back up your WordPress site. This backup will serve as a safety net in case anything goes wrong during the migration.
Next, choose a migration method based on your specific needs. You can opt for manual migration, where you manually copy files and export/import databases, or you can use plugins like All-in-One WP Migration or Duplicator for a more automated approach.
Once you’ve selected your method, follow the step-by-step instructions provided by the chosen method to transfer your site’s files and database to the new location. After completing the migration, don’t forget to update any necessary settings, such as permalinks and domain URLs, to ensure your site functions correctly in its new environment.
With careful planning and execution, migrating your WordPress site in 2024 can be a smooth and problem-free experience.
Types of WordPress Migrations
There are several types of WordPress migrations, each serving different purposes and requiring different methods. Here are the most common types:
- Host Migration: This involves moving your entire WordPress site from one hosting provider to another. It could be due to better pricing, improved performance, or better customer support. Host migration typically involves transferring files, databases, and reconfiguring domain settings.
- Domain Migration: When you change the domain name of your WordPress site, you need to perform a domain migration. This could be because you’re rebranding your website or moving to a more relevant domain name. Domain migration involves updating all internal links, image URLs, and other references to the old domain throughout your site.
- Subdomain to Root Domain Migration: If you’re moving your WordPress site from a subdomain (e.g., subdomain.example.com) to the root domain (e.g., example.com), you’ll need to perform this type of migration. It requires updating your WordPress settings, permalinks, and possibly restructuring your website’s directory.
- Staging to Live Migration: When you develop or test changes on a staging site and are ready to make them live, you perform a staging to live migration. This involves transferring all the changes made on the staging site to the live site, ensuring consistency between the two.
- Localhost to Live Migration: Initially, you might develop your WordPress site on your local computer using software like XAMPP or MAMP. When it’s ready to go live, you’ll need to migrate it from your localhost environment to a live web server. This process involves similar steps to other migrations, such as transferring files and databases.
General Steps for Migrating a WordPress Site
Migrating a WordPress site involves several general steps to ensure a smooth transition. Here’s a basic guide:
- Backup Your Site: Before making any changes, create a full backup of your WordPress site. This ensures that you have a copy of your site’s files and database in case anything goes wrong during the migration process.
- Choose a Migration Method: Depending on your specific needs, choose a migration method. You can opt for manual migration by transferring files and exporting/importing databases, or you can use plugins like All-in-One WP Migration or Duplicator for a more automated approach.
- Set Up the New Environment: Prepare the new environment where you’ll be migrating your WordPress site. This includes setting up hosting, installing WordPress, and configuring any necessary settings such as domain names and server configurations.
- Transfer Files: If you’re performing a manual migration, transfer your WordPress files from the old environment to the new one using FTP or a file manager provided by your hosting provider.
- Export and Import Database: Export your WordPress database from the old environment and import it into the new one. If you’re using a plugin, follow the plugin’s instructions to export and import the database.
- Update Configuration Settings: After transferring files and databases, update any necessary configuration settings such as site URLs, permalinks, and file paths to reflect the new environment.
- Test Your Site: Once the migration is complete, thoroughly test your WordPress site to ensure that everything is working correctly. Check for broken links, missing images, and any other issues that may have occurred during the migration process.
- Update DNS Records: If you’re changing domain names or hosting providers, update your DNS records to point to the new server. This ensures that visitors are directed to the correct location when they access your site.
By following these general steps, you can successfully migrate your WordPress site to a new environment without losing any data or experiencing downtime.
How to Migrate WordPress With a Plugin
Migrating WordPress with a plugin can streamline the process and reduce the likelihood of errors. Here’s how to do it:
- Choose a Migration Plugin: Start by selecting a reliable migration plugin. Popular options include All-in-One WP Migration, Duplicator, and WP Migrate DB. Install and activate the chosen plugin on both your old and new WordPress sites.
- Export Your Site: In the WordPress dashboard of your old site, navigate to the migration plugin’s settings. Look for an option to export your site. This will typically create a downloadable file containing all your site’s files, database, plugins, themes, and media uploads.
- Import to New Site: On your new WordPress site, access the migration plugin and look for an import option. Upload the file you exported from your old site. The plugin will then extract and import all the contents into your new site.
- Update Permalinks and Settings: Once the import is complete, you may need to update permalinks and other settings to ensure everything works correctly in the new environment. Check and adjust settings related to your domain, site URL, and any custom configurations you had on the old site.
- Test Your Site: After completing the migration, thoroughly test your new site to ensure that everything functions as expected. Check pages, posts, images, links, and any interactive features to confirm that they’re working properly.
- Finalize DNS Changes (if applicable): If you’ve migrated to a new domain or hosting provider, update your DNS settings to point to the new server. This step ensures that visitors are directed to your new site when they access your domain.
By using a migration plugin, you can simplify the process of moving your WordPress site to a new location while minimizing the risk of data loss or errors. Just be sure to choose a reputable plugin and follow the instructions carefully for a smooth migration experience.
SQL queries for WordPress migration
a.) Exporting Posts, Pages, and Custom Post Types:
- This query retrieves all posts, pages, and custom post types from the WordPress database.
- The ‘wp_posts’ table contains records for all types of content in WordPress, including posts, pages, and any custom post types you’ve created.
- The ‘post_type’ column in the ‘wp_posts’ table specifies the type of content (e.g., ‘post’, ‘page’, or the name of a custom post type).
- By using the ‘IN’ clause, we specify which post types to include in the export.
b.) Exporting Comments:
- This query retrieves all comments associated with the WordPress posts.
- Comments are stored in the ‘wp_comments’ table, which contains details such as the comment text, author information, and the post ID to which the comment belongs.
c.) Exporting Categories:
- This query retrieves all categories (also known as taxonomies) assigned to posts in WordPress.
- Categories are stored as terms in the ‘wp_terms’ table and are associated with posts via the ‘wp_term_taxonomy’ table.
- We select categories by filtering records in the ‘wp_terms’ table based on their taxonomy type, which in this case is ‘category’.
d.) Exporting Tags:
- Similar to categories, this query retrieves all tags (another type of taxonomy) assigned to posts in WordPress.
- Tags are also stored as terms in the ‘wp_terms table’ and associated with posts via the ‘wp_term_taxonomy’ table.
- We select tags by filtering records in the ‘wp_terms’ table based on their taxonomy type, which in this case is ‘post_tag’.
e.) Exporting Users:
- This query retrieves all user accounts registered on the WordPress site.
- User account information, such as usernames, passwords (hashed), email addresses, and other details, are stored in the ‘wp_users’ table.
f.) Exporting User Meta:
- User meta data includes additional information associated with user accounts, such as profile settings, preferences, and custom fields.
- User meta data is stored in the ‘wp_usermeta’ table and linked to user accounts via the ‘user_id’ column.
- These SQL queries provide a structured way to extract specific data from your WordPress database, facilitating the migration process to a new environment or platform. Adjust the table prefix (‘wp_ ‘ in the examples above) if your WordPress database uses a different prefix.
FAQs
1. Is it necessary to back up my site before migrating?
Yes, backing up your site ensures you have a copy of your data in case anything goes wrong during the migration process.
2. How long does the migration process take?
The time it takes to migrate a WordPress site depends on various factors such as the size of your site, your internet connection speed, and the method of migration chosen.
3. What should I do if I encounter errors during migration?
If you encounter any errors during the migration process, refer to online resources or contact your hosting provider’s support team for assistance.
4. Can I test the new site before updating DNS records?
Yes, you can preview the new site using temporary URLs provided by your hosting provider to ensure everything is working correctly before updating DNS records.
5. How often should I monitor my site after migration?
It’s recommended to monitor your site regularly for at least a few weeks after migration to ensure everything is functioning smoothly.